
Engine oil is one of the most important fluids in a motorcycle.
It circulates through the engine’s oil passages, lubricates the moving parts, carries away heat, reduces friction, and protects components from premature wear.
On many motorcycles, the same oil serves at once:
- the engine;
- the transmission;
- the wet clutch.
That is why regular changing of the oil and the oil filter is one of the most important maintenance procedures.
The good news is that it is also one of the best operations to start with if you want to service your motorcycle yourself.
Changing the oil at home can save you time and money, but there is another important advantage:
it gives you the opportunity to regularly inspect the engine and spot a problem before it turns into serious damage.
In this article we will look at:
- how to choose the right oil;
- what markings like 10W-40 and 20W-50 mean;
- why JASO MA and MA2 are important on motorcycles;
- what tools you need;
- how to change the oil and filter step by step;
- what the old oil can tell you about the condition of the engine.
How to Choose the Right Oil for Your Motorcycle
Before you undo even a single bolt, you need to know what oil the specific engine requires.
The wrong type, viscosity, or specification can lead to:
- improper lubrication;
- difficult gear shifting;
- clutch slipping;
- increased wear;
- cold-starting problems.
The most important rule is:
check the manufacturer’s manual and use oil with the recommended viscosity and the required standards.
Mineral, Semi-Synthetic, or Full Synthetic Oil?
Mineral oil
Mineral oil is produced mainly from a refined mineral base.
It is often used in:
- older engines;
- classic motorcycles;
- models for which the manufacturer explicitly recommends it.
It is usually cheaper, but its properties under high temperature and heavy load can be weaker compared to quality synthetic oils.
Full synthetic oil
Synthetic oils use heavily processed or specially engineered base oils and additives.
They usually offer good resistance under:
- high temperatures;
- high RPM;
- sporty riding;
- heavy loads;
- frequent cold starts.
This does not automatically mean that synthetic oil is the right choice for every motorcycle.
Always follow the manufacturer’s specification.
Semi-synthetic oil
Semi-synthetic oil is a combination of mineral and synthetic base oils.
It is often a good compromise between:
- price;
- protection;
- temperature resistance;
- everyday use.
On many city and touring motorcycles, a quality semi-synthetic oil is perfectly suitable, as long as it meets the manufacturer’s requirements.
What Do 10W-40, 10W-50, or 20W-50 Mean?
These numbers indicate the viscosity of the oil.
Put more simply — how easily the oil flows at different temperatures.
Let’s take 10W-40.
10W
The letter W comes from Winter.
The first value indicates the behavior of the oil at low temperature.
The lower the number, the more easily the oil circulates during a cold start.
40
The second value indicates the viscosity of the oil at high operating temperature.
For example, 10W-40 and 10W-50 have a similar cold rating, but the second oil stays at a higher viscosity at operating temperature.
This doesn’t mean that “thicker is better”.
The engine is designed for a specific range.
That is why:
don’t choose viscosity based only on the outside temperature or on advice from a forum — use the range specified by the manufacturer.
Why Is Motorcycle Oil Different?
On many cars, the engine and the transmission use different oils.
On many motorcycles, however:
the engine, the transmission, and the wet clutch all run on the same oil.
This places additional requirements on the oil.
The wet clutch needs sufficient friction between the friction plates.
Some car oils contain friction-reducing additives that are not suitable for certain motorcycles with a wet clutch.
That is why you should look for markings such as:
- JASO MA
- JASO MA2
These standards indicate that the oil is intended for use in motorcycle systems with a wet clutch.
An important clarification:
it is not correct to claim that every car oil will necessarily damage a motorcycle. The question is whether the specific oil meets the manufacturer’s requirements and the required JASO standard.
What Tools Do You Need?
Good preparation turns a potentially messy procedure into quick, clean work.
Prepare in advance:
- new engine oil;
- a new oil filter;
- a new sealing washer for the drain plug;
- a set of sockets and a ratchet;
- an oil filter wrench, if needed;
- a torque wrench;
- a container for the used oil;
- a funnel;
- clean shop rags;
- nitrile gloves.
Before you start, also check:
- the exact amount of oil;
- the torque for the drain plug;
- the type of filter;
- the procedure for checking the level.
Should the Engine Be Warmed Up?
Slightly warmed oil has a lower viscosity and drains more easily.
That is why, before the change, you can:
- let the engine run for a few minutes;
- or take a short, calm ride.
Usually 3–5 minutes are enough.
It is important that the engine is warm, but not too hot.
Hot oil can cause serious burns.
Light warming also helps some of the sediment and fine particles stay in suspension and be drained out along with the old oil.
Changing the Oil and Filter Step by Step
Step 1: Draining the old oil
1. Position the motorcycle securely
The motorcycle must be on a level surface.
If the manufacturer specifies inspection and service in the upright position, use:
- a center stand;
- a rear service stand;
- a suitable way of holding the bike vertical.
2. Place the container under the engine
Position the container so it catches the oil right from the initial strong stream.
Keep in mind that when the plug is removed, the oil doesn’t always fall straight down — at first it may come out at an angle.
3. Locate the drain plug
It is usually located at the lowest part of the crankcase or the oil pan.
Don’t confuse it with another service bolt.
If in doubt, check the service manual.
4. Unscrew the plug
Use the correct socket and unscrew counterclockwise.
Once the bolt is loose, you can continue by hand.
A useful trick is to press the plug lightly toward the opening while unscrewing it.
This way the oil won’t start leaking out prematurely along the thread.
5. Pull the plug away
When the thread is fully released, pull the plug away quickly and let the oil flow into the container.
Be careful — if the engine is warm, the oil will be hot too.
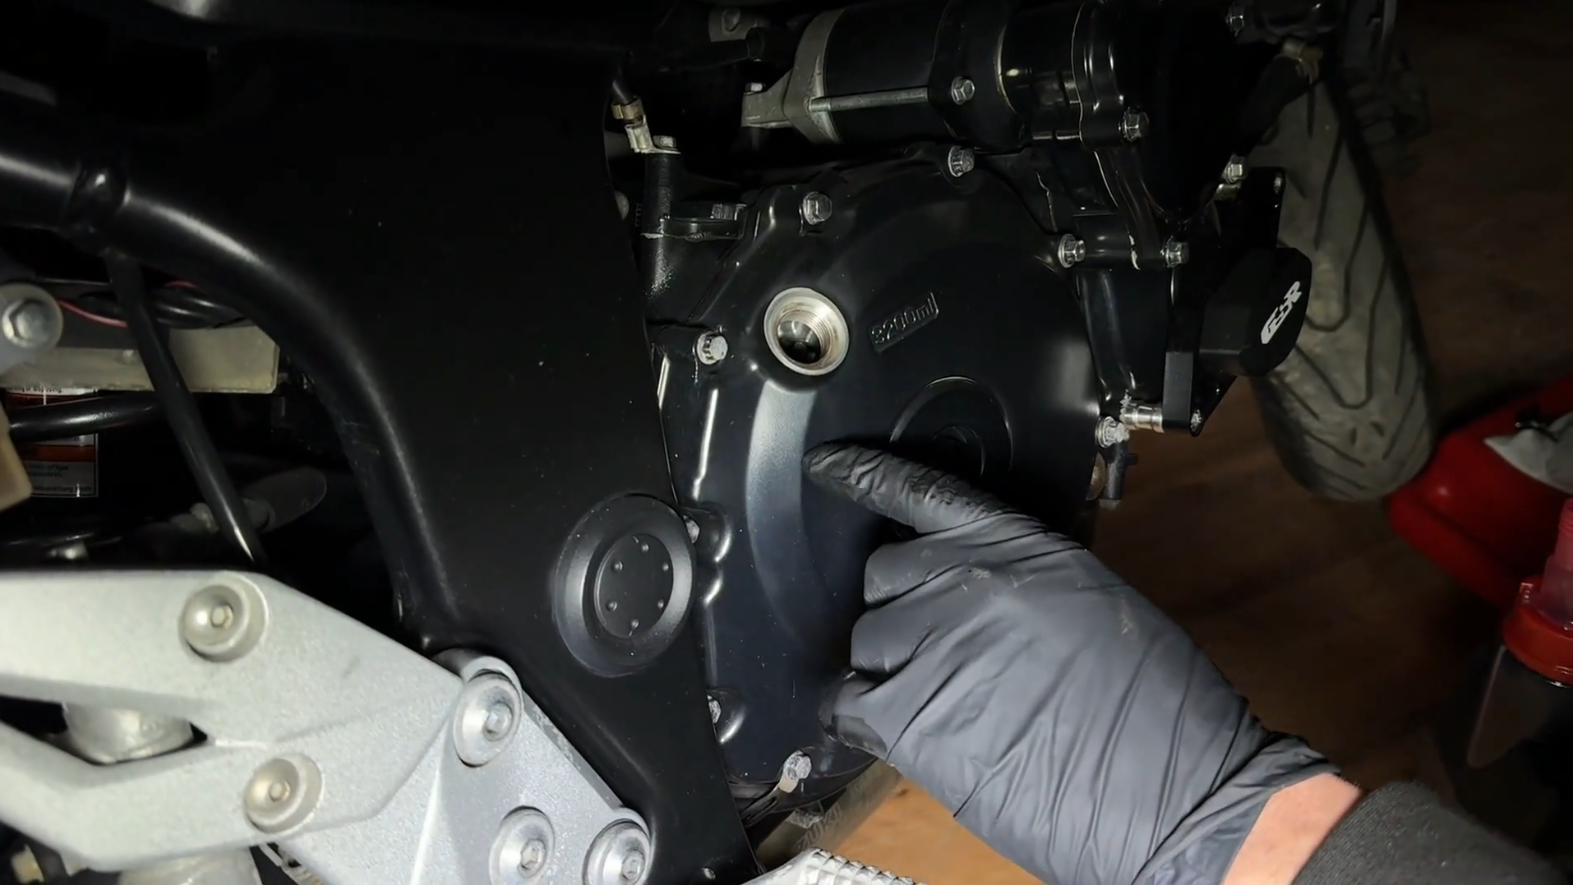
6. Open the filler cap
Remove the oil filler cap.
This lets air into the engine and can help the oil drain more freely.
Let it drain well.
Step 2: Replacing the oil filter
While the oil is draining, you can move on to the filter.
On different engines it can be:
- an external spin-on metal filter;
- an internal paper element;
- a cartridge behind a separate cover.
1. Move the container
There is almost always oil left under the filter.
Position the container so it catches that too.
2. Unscrew the filter
If it is an external metal filter, use a suitable wrench.
After the initial loosening, it can usually be unscrewed by hand.
3. Keep the opening facing up
Once the filter is free, try to tilt it so the opening stays facing up.
This reduces the amount of oil that can spill onto:
- the engine;
- the exhaust pipes;
- the floor.
⚠️ A Very Important Check: The Old Rubber Seal
With an external filter, you must look at the mounting surface.
The old rubber O-ring or gasket should have come off with the old filter. If it is stuck to the engine and you install the new filter over it, you get a double seal.
This is a very dangerous mistake. When oil pressure builds up, the seal can be pushed out and the engine can quickly start losing oil.
If this happens while riding, the oil can land on the rear tire, the exhaust system, or the road.
That is why you should always check the mounting surface before fitting the new filter.
Step 3: A new washer on the drain plug
Remove the old metal washer from the plug.
On many motorcycles a deformable washer is used, made of:
- aluminum;
- copper;
- another soft metal.
When the bolt is tightened to the correct torque, the washer slightly deforms and creates a reliable seal.
That is why it is good practice to replace it at every oil change, if the manufacturer requires it.
Clean the plug
Clean:
- the thread;
- the head of the bolt;
- the magnetic tip, if the plug has a magnet.
If there are a lot of metal particles on the magnetic plug, pay attention to them.
Fine metal dust can be normal within certain limits.
Larger pieces or a large amount of metal, however, call for further inspection.
Thread the plug in by hand first
This is important.
Aluminum crankcases can easily be damaged by a cross-threaded plug.
So thread the plug in by hand a few turns.
If it doesn’t go in freely, don’t use force.
Take it out and start again.
Tighten to the correct torque
Use a torque wrench and the value specified by the manufacturer.
Overtightening can:
- damage the thread;
- crack the crankcase;
- deform the plug.
Undertightening can lead to a leak or the plug working loose.
Step 4: Preparing the new oil filter
If you are using an external filter with a rubber seal:
- Dip a clean finger into the new oil.
- Apply a thin layer to the rubber sealing ring.
- Thread the filter on by hand.
The oil film helps the seal slide properly during tightening and reduces the risk of it twisting or getting damaged.
Once the seal touches the mounting surface, tighten according to the manufacturer’s instructions.
On many external filters this is roughly a certain fraction of a turn after contact, but don’t use the universal rule instead of the official specification, if one is available.
Step 5: Adding the new oil
Place a clean funnel into the filler opening.
Check the amount of oil in the manual.
It is important to know that the manufacturer sometimes specifies different amounts for:
- an ordinary change;
- a change with a new filter;
- a completely dry engine after disassembly.
Use the correct value.
Don’t pour in the whole amount at once
If, for example, the manual specifies 3.2 liters with a filter change, you can initially pour in a little less.
For example, around 3.0 liters.
It is easier to add another 100–200 ml than to drain out overfilled oil.
Step 6: Start the engine
Fit the oil filler cap.
Start the engine and let it run at idle briefly.
There is no need to rev it.
During the first few seconds, the new filter fills with oil and the system builds pressure.
Watch the oil pressure warning light.
It should go out normally, depending on the specific model.
Check for leaks
While the engine is running, carefully inspect:
- the drain plug;
- the oil filter;
- the filter cover, if there is one.
There should be no active leaking.
If you notice a leak, turn off the engine and find the cause.
Step 7: Checking the level
Turn off the engine.
Let the motorcycle sit for a few minutes so the oil can return to the crankcase.
Then check the level using the method specified by the manufacturer.
On different motorcycles this can be via:
- a sight glass;
- a dipstick;
- a special procedure at a certain temperature.
With a sight glass
Usually the motorcycle must be in the upright position on a level surface.
The level should be between:
MIN and MAX or LOW and FULL.
It must not be:
- below the minimum level;
- above the maximum level.
Why Is Too Much Oil Also a Problem?
More oil does not mean better lubrication.
An overfilled engine can lead to:
- increased crankcase pressure;
- foaming of the oil;
- problems with the crankcase ventilation;
- oil getting into the airbox;
- leaks through the seals.
So aim for the correct level, not for “as much as possible”.
What Can the Old Oil Tell You About the Engine?
Before you pour the used oil into a container for recycling, look at it carefully.
The oil can give valuable information about the internal condition of the engine.
Milky or creamy oil
If the oil looks:
- milky;
- light brown;
- creamy;
- with “mayonnaise”-type foam;
this can indicate the presence of water or coolant.
Possible causes are:
- a problem with the cylinder head gasket;
- a problem with a water pump seal;
- another internal connection between the cooling and oil systems.
Keep in mind that a small amount of light condensation under the cap on frequent short trips doesn’t always mean serious damage.
A strong smell of gasoline
If the oil clearly smells of fuel, gasoline may be getting into the crankcase.
Possible causes are:
- a problem with an injector;
- an overly rich mixture;
- frequent failed ignitions;
- a problem in the carburetor system;
- a mechanical problem allowing more fuel to pass by the rings.
Excess fuel dilutes the oil and reduces its ability to protect the engine.
Metal particles
Many very fine particles can appear as a result of normal wear.
But if there are clearly visible in the oil:
- silvery shavings;
- bronze or gold particles;
- larger metal pieces;
this can already indicate accelerated internal wear.
Possible sources include:
- bearings;
- gears;
- bushings;
- pistons;
- other internal components.
With such a symptom, it’s not a good idea to simply pour in new oil and keep riding.
You need to find out where the metal is coming from.
What to Do With the Old Oil?
Used engine oil must not be:
- poured into the drains;
- dumped on the ground;
- poured into a household waste bin.
Collect it in a well-sealed container and hand it over to a suitable collection point or a shop that accepts used oil.
The same applies to the old oil filter.
How Often Should You Change the Oil?
There is no single universal interval for all motorcycles.
Follow the service schedule for the specific model.
The interval depends on:
- the type of engine;
- the type of oil;
- the riding style;
- the operating temperature;
- city or highway riding;
- sporty use;
- the operating conditions.
If the engine is often used in:
- very high temperatures;
- short city routes;
- dust;
- sporty riding;
- heavy load;
the manufacturer may specify shorter service intervals.
The Next Step Toward Better Understanding of Your Motorcycle
Changing the oil is one of the best first steps toward maintaining a motorcycle yourself.
Here you start to learn several extremely important habits:
- working to a service procedure;
- using the right tools;
- observing torque values;
- inspecting for leaks;
- recognizing signs of wear;
- checking the technical condition, not just replacing a consumable.
In the Shadow Rider Garage Masterclass we build exactly on these foundations.
In the practical video lessons you will learn how to:
- correctly change the oil and filter;
- choose the right consumables;
- work with a torque wrench;
- read the signs of internal wear;
- service the brake system;
- diagnose electrical problems;
- maintain the fuel and cooling systems;
- find problems systematically, instead of replacing parts on a guess.
Changing the oil may look like a simple task.
But when you do it correctly, it teaches you one of the most important skills in mechanics:
to work cleanly, precisely, and in the correct sequence.