
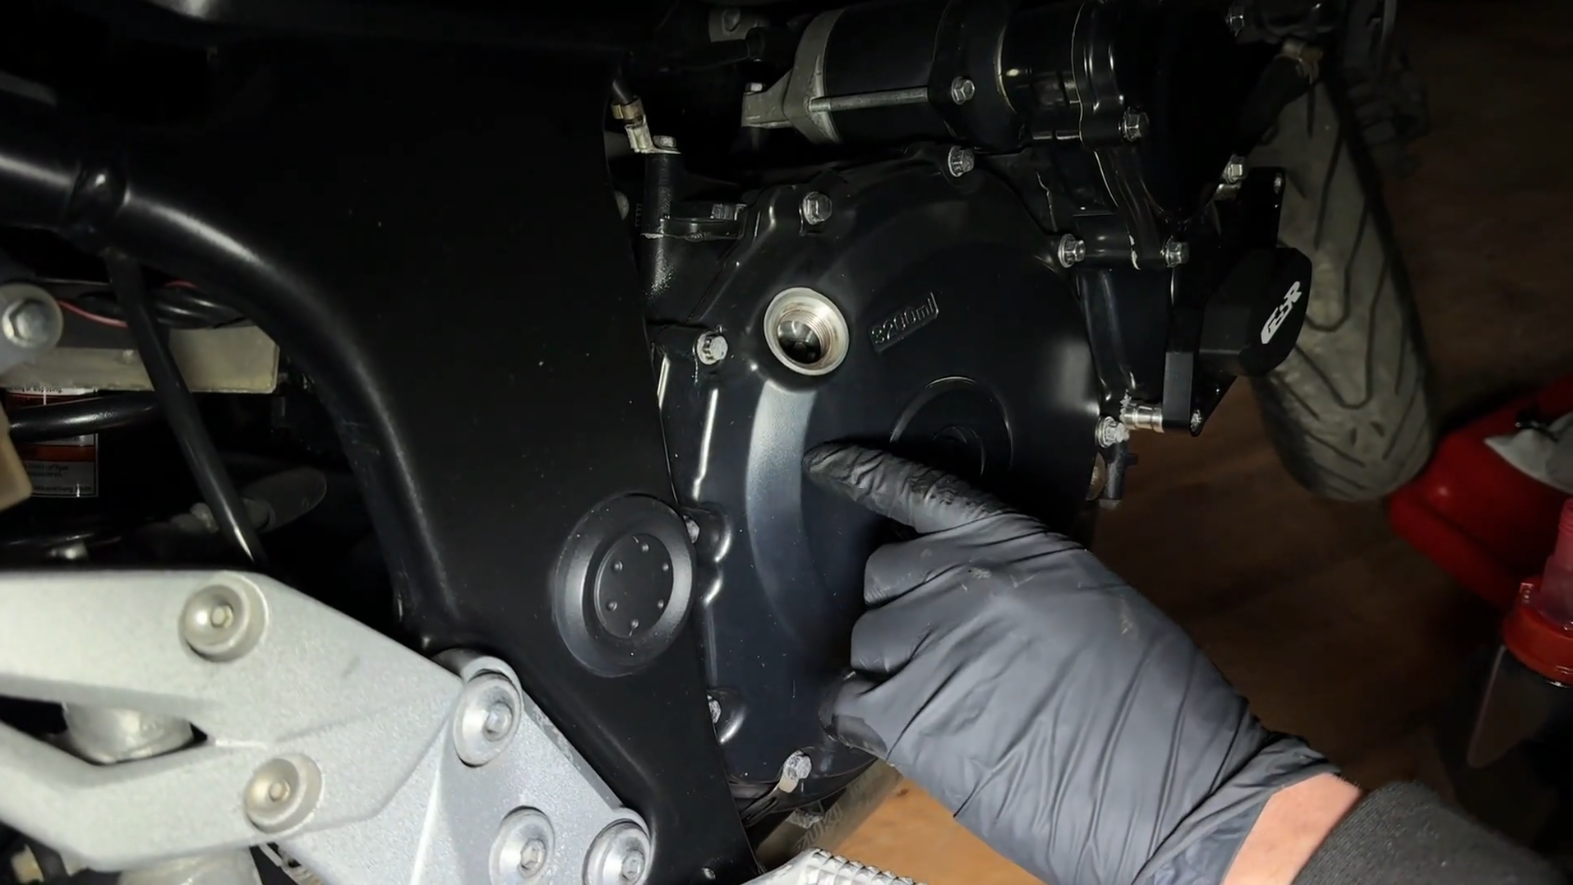
Every motorcycle engine has a lifeblood, and it flows through the oil galleries. Changing your motorcycle oil is the single most important maintenance task you can perform. It keeps your engine running cool, prevents premature wear, and ensures your transmission shifts smoothly. While many riders feel intimidated by the thought of working on their own bike, an oil change is the perfect entry point into DIY mechanics. Doing it yourself saves you time and money, but more importantly, it allows you to spot potential issues before they turn into expensive breakdowns on the side of the road.
In this comprehensive guide, we will break down the science of motorcycle oil, list the essential tools you need, and give you an exact step-by-step blueprint to execute a flawless oil and filter change in your own garage.
The Science: Choosing the Right Oil for Your Bike
Before you grab a wrench, you need to put the right fluid into your machine. Pouring the wrong oil into a motorcycle can cause catastrophic engine or transmission failure.
Mineral, Semi-Synthetic, or Full Synthetic?
-
- Mineral Oil: Crude oil refined to protect older, classic engines or used during a new engine’s break-in period.
-
- Full Synthetic: Highly engineered oil designed for maximum heat resistance, high RPMs, and longer service intervals.
-
- Semi-Synthetic: A blend of both, offering a balance of protection and value for everyday commuter bikes.
What the Numbers Mean (e.g., 10W-40 vs. 20W-50)
The numbers represent the oil’s viscosity (thickness) at different temperatures. In a 10W-40 oil, the 10W (Winter) indicates how fluid the oil flows in cold weather. The 40 indicates how thick the oil remains at operating temperatures. Always consult your owner’s manual to match your local riding climate.
 The Golden Rule: Why Car Oil Will Ruin Your Motorcycle
Never use car oil in a motorcycle. Most modern cars have separate transmissions and engines. Motorcycles typically feature a “wet clutch,” meaning the engine, transmission, and clutch plates all share the exact same oil. Car oils contain friction modifiers to increase fuel economy. If you put car oil in a bike, those modifiers will coat your clutch plates, causing your clutch to slip immediately. Look for the JASO MA or JASO MA2 certification on the back of the bottle—this guarantees the oil is safe for wet clutches.
Tools and Garage Prep Work
Preparation separates a messy amateur job from a clean, professional service. Gather these essential tools before you begin:
-
- Fresh motorcycle oil (matching your manual’s specs)
-
- A new oil filter (OEM or high-quality aftermarket)
-
- A new crush washer for the drain plug
-
- A socket wrench set (specifically for your drain plug size)
-
- An oil filter wrench or strap wrench
-
- A low-profile oil drain pan
-
- A funnel and clean shop rags
- Nitrile gloves to protect your skin
Why You Must Warm Up the Engine First
Cold oil is thick, sluggish, and holds onto engine contaminants. Before draining, start your motorcycle and let it idle for 3 to 5 minutes, or take it for a quick ride around the block. You want the engine warm to the touch, not scorching hot. Warming the oil reduces its viscosity, allowing it to drain much faster and pull away harmful metal particles and sludge settled at the bottom of the crankcase.
Step-by-Step Oil and Filter Change Blueprint
Follow these steps precisely to ensure a clean, accurate service.
Step 1: Locating and Removing the Drain Plug Safely
-
- Place your motorcycle on its center stand or a rear paddock stand so it sits perfectly level.
- Slide your oil drain pan directly beneath the engine’s oil pan.
- Locate the oil drain plug (usually a large hex bolt sitting at the lowest point of the engine case).
- Put on your gloves. Using your socket wrench, loosen the bolt by turning it counterclockwise.
- Once loose, unscrew the bolt slowly by hand. Keep inward pressure on the bolt so the oil doesn’t spill prematurely.
- Pull the bolt away quickly as the warm oil begins to stream into the pan. Remove the oil filler cap on top of the engine to allow airflow, speeding up the draining process.
Step 2: Removing the Old Filter Without Making a Mess
-
- While the oil drains, locate your oil filter. It will either be an external metal canister (spin-on) or an internal element behind a small metal cover.
- Reposition the drain pan to catch the oil that will inevitably spill when the filter breaks free.
- Use your oil filter wrench to loosen the canister.
- Once loose, spin it off by hand. Tilt the open end of the filter upward immediately to avoid dripping oil onto your exhaust pipes or garage floor.
- Crucial Check: Inspect the old filter and ensure the rubber O-ring came off with it. If the old O-ring stays stuck to the engine block and you screw a new filter over it, it will create a double-gasket seal that will blow out under pressure, spraying oil onto your rear tire while riding.
Step 3: Crushing Washers and O-Rings: The Golden Rules
-
- Take your oil drain bolt and remove the old metal washer.
- Always replace it with a new aluminum or copper crush washer. When torqued down, this washer deforms to create a perfect liquid-tight seal. Reusing an old washer often leads to slow, annoying oil leaks.
- Clean the drain plug threads with a shop rag, install the new washer, and thread the bolt back into the engine by hand to avoid cross-threading. Tighten it to the manufacturer’s torque spec using a torque wrench.
- Take your new oil filter. Dip a clean finger into your fresh oil and smear a thin film of oil around the new rubber gasket. This prevents the rubber from binding, bunching up, or tearing when you tighten it.
- Spin the new filter on by hand. Once the rubber gasket makes contact with the engine face, turn it an additional 3/4 to 1 full turn. Do not overtighten it with a wrench, as you will deform the gasket or strip the threads.
Step 4: Filling and Checking the Sight Glass
-
- Place a clean funnel into the oil fill hole.
- Pour in the exact amount of oil specified by your manual. (If your manual says 3.2 liters, pour in 3 liters first to prevent overfilling).
- Replace the oil filler cap. Start the engine and let it idle for 1 minute. Do not rev the engine, as the oil pressure needs a few seconds to stabilize. Watch for any active leaks around the drain plug or filter.
- Turn the engine off and let the bike sit for 3 minutes so the oil drains back down into the oil pan.
- Hold the bike completely upright (not on the side stand). Look at the glass window (sight glass) on the side of the engine, or check the dipstick. The oil level must sit perfectly between the Upper (Max) and Lower (Min) indicator lines. Top off slightly if necessary.
Reading Your Old Oil for Engine Diagnostics
Before you pour your used oil into a sealed container for safe, eco-friendly recycling at a local automotive shop, look closely at what came out of your engine. Your old oil tells a story about your engine’s health:
-
- Milky or Frothy Appearance: This indicates coolant is leaking into your engine oil, pointing to a failed head gasket or water pump seal.
-
- Strong Gasoline Smell: This means unburnt fuel is washing past your piston rings into the crankcase, suggesting a leaking fuel injector or a sticking carburetor float.
-
- Heavy Metallic Glitter: Fine silver or gold flakes in the oil pan mean internal engine bearings, piston skirts, or gears are actively wearing out.
Finding these signs early allows you to address mechanical failures before they cause total engine destruction.
Take the Next Step in Mechanical Mastery
Changing your oil is just the first step on your journey to total mechanical independence. If you want to stop paying expensive dealership labor rates and start mastering every square inch of your motorcycle, you need a structured approach.
Inside the Shadow Rider Garage Masterclass, we guide you through the exact tools, diagnostic strategies, and professional repair techniques used by world-class mechanics. From understanding complex electrical gremlins to completely rebuilding your brake calipers, our over-the-shoulder video modules give you the confidence to repair your machine correctly the first time.